

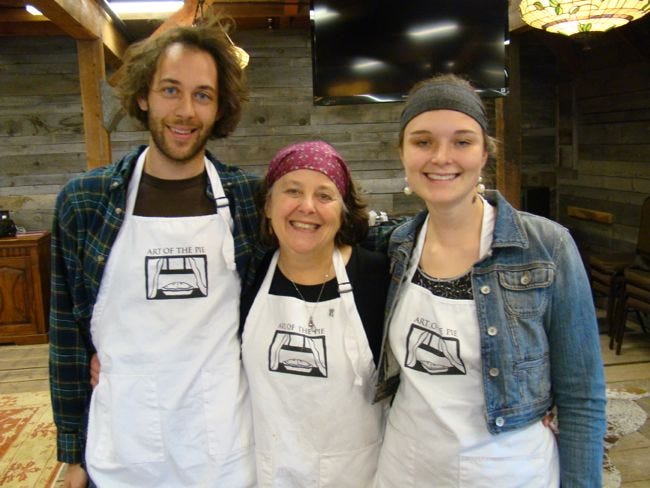
Duncan, Kate, and Robin. Duncan McDermott Graham (Kate’s son), Kate McDermott, and Robin Jacobs, the three musketeers of The Art of the Pie workshop.
It’s rare that I get to take classes from a professional baker because I’m the one who usually gives the classes. All that changed recently when my wife, Dorothy, and I, were invited to attend a baking weekend called Upper Crust at Paws Up, a world-class resort just an hour away from our home in Montana. Full disclosure: My wife and I were comped for this extraordinary weekend.
Two gifted teachers, Kate McDermott, who is renowned for her gorgeous pies, and Mindy Segal, a James Beard Award-winning pastry chef from Chicago, conducted hands-on workshops.
I attended Kate’s workshop first, where we each made our very own apple pies, including a terrific butter and lard pastry.
Kate’s enthusiasm and joy of baking are absolutely contagious. She is a lively teacher who wants to make sure that all who take her classes “get it.” Her messages are to throw all fear out the window and above all, have fun! Kate stressed the importance of keeping all ingredients cold when making pastry, emphasizing that the fats must remain solid and not turn oily. To that end, she freezes the mixing bowl and flour, and keeps the fats chilled. These are great ideas and pretty much insures you’ll make a terrific pastry.
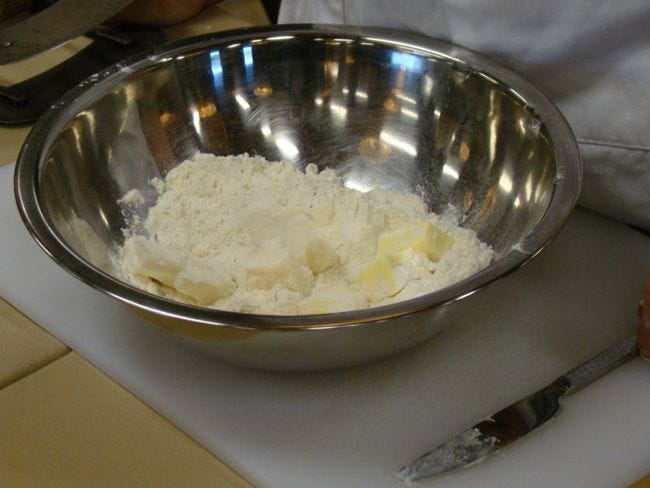
Here’s Kate’s bowl with the flour, salt, butter and lard. She cuts the fats into largish lumps before adding them to the bowl.
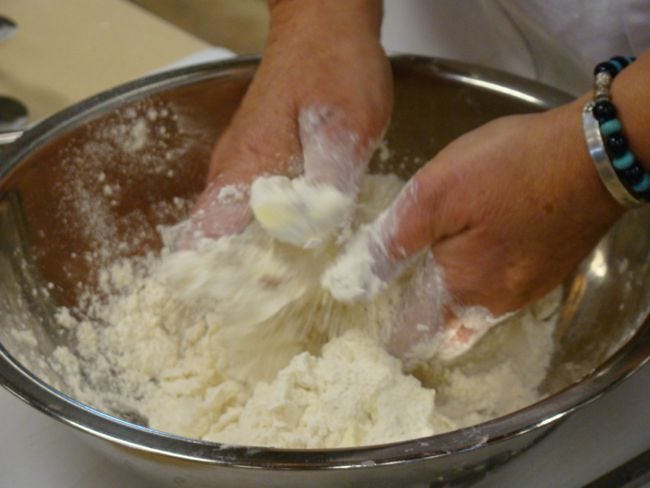
Then she works the fats into the flour rapidly with her fingertips. Kate says it’s perfectly okay to use a pastry blender, but the fingers do a quicker job.
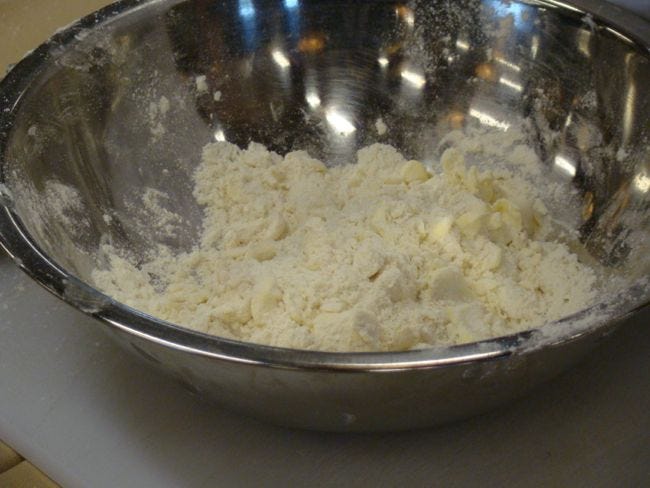
Once the fats have been incorporated into the flour, you can see they’re still in fairly large pieces. At this point stop, and get your hands out of there!
The next step is to add ice water, and the amount depends on the dryness of the flour. Start with the minimum recommended and toss all ingredients together quickly, with a fluffing motion.
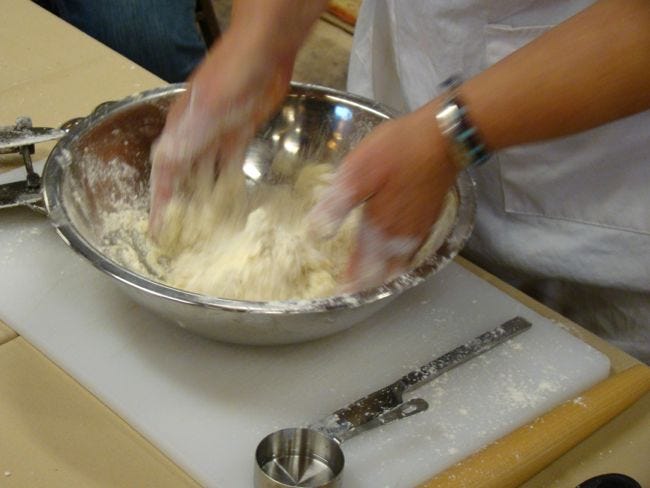
How do you know if you’ve added enough water? Squeeze a bit of the dough ingredients together. If they stick together, the dough is done. If not, sprinkle on a tablespoon or so of ice water, toss everything together again, and repeat the squeeze test. Once the dough holds together, shape it into a log in the bowl. Mixing the dough should take no longer than 1 minute.
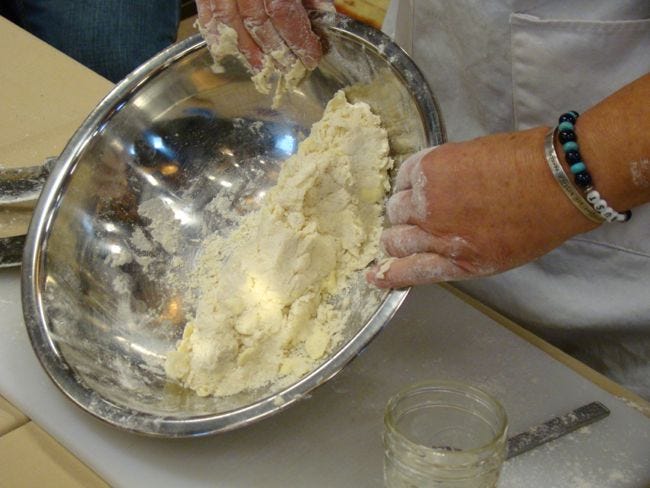
Here’s the dough log. It’s rough-looking, and the next step is to make an indentation across the center and fold the dough over on itself. Reshape the dough into a log and repeat the indenting and folding. What you’re doing is creating layers in the dough–laminating it–to make the crust flaky. Then shape the dough into a ball.
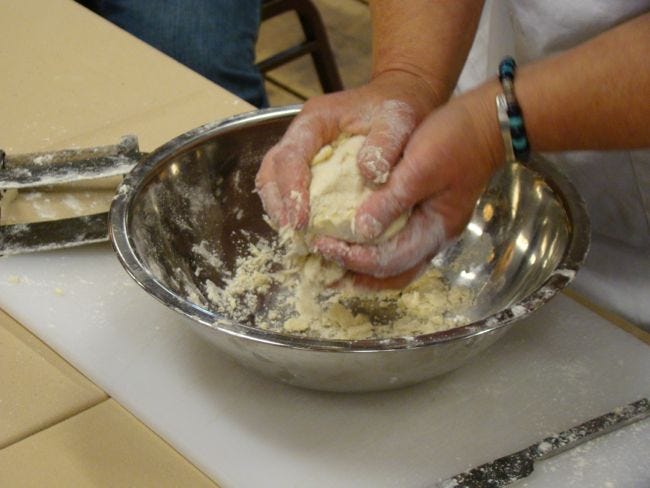
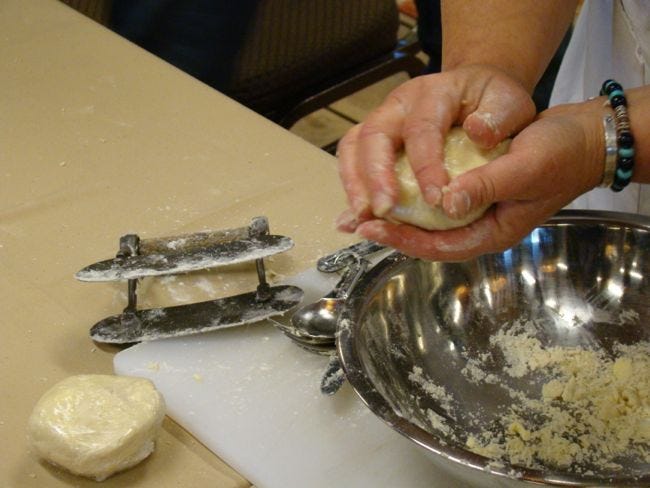
Here’s Kate shaping the dough. She’ll add most of those bits of dough in the bowl to the ball of dough. Once that’s done, she’ll cut the dough in half to reveal its laminated nature.
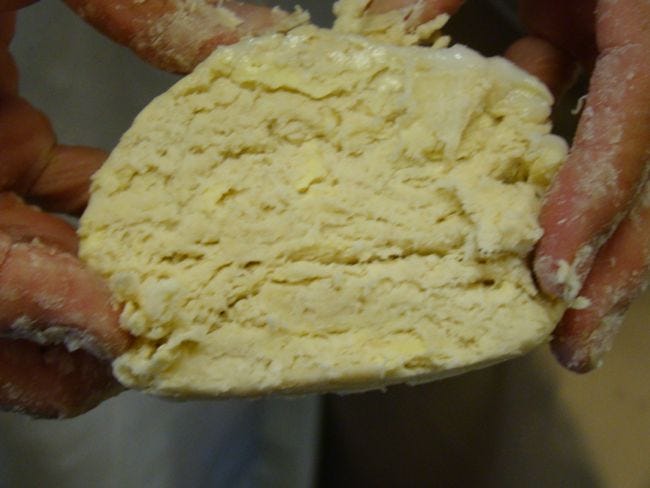
You can see pieces of fat among the layers of dough.
Slam each half of dough cut side down down decisively onto a sheet of plastic wrap and shape into a disk.
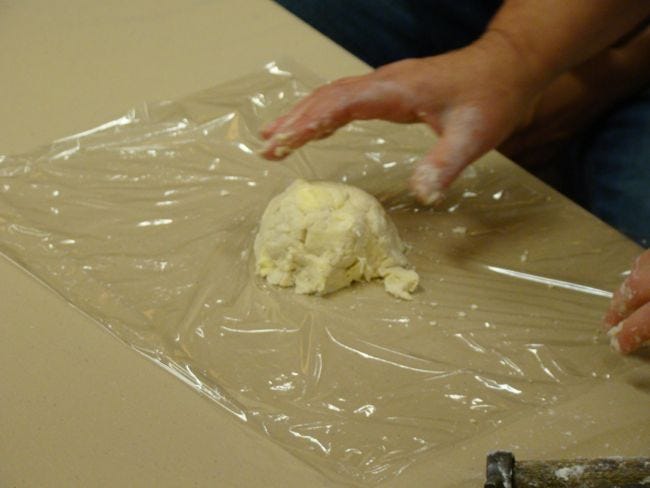
Here’s one half the dough ready to be wrapped in plastic and shaped into a disk. Work quickly to avoid transferring heat from your hands to the dough.
Here are the two disks. Once formed, refrigerate for 1 hour to firm the pastry and relax the gluten.
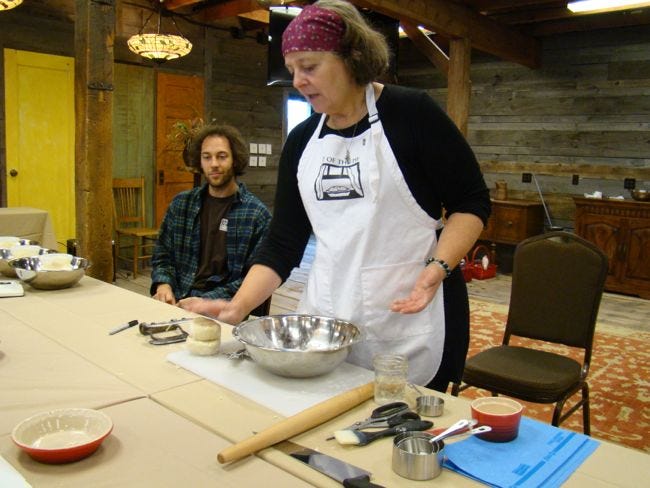
Kate with the two disks of dough. Her son, Duncan, is seated. Note the mixing bowl, mixing cups, rolling pin, scissors, pastry brush, and jar of ice water.
Before rolling out the dough, Kate measures the amount of apples for individual pies in the baking dish. In class we were provided with Le Creuset dishes with flared sides, 6 inches across the top, 4 inches bottom diameter, and 1 1/2 inches tall.
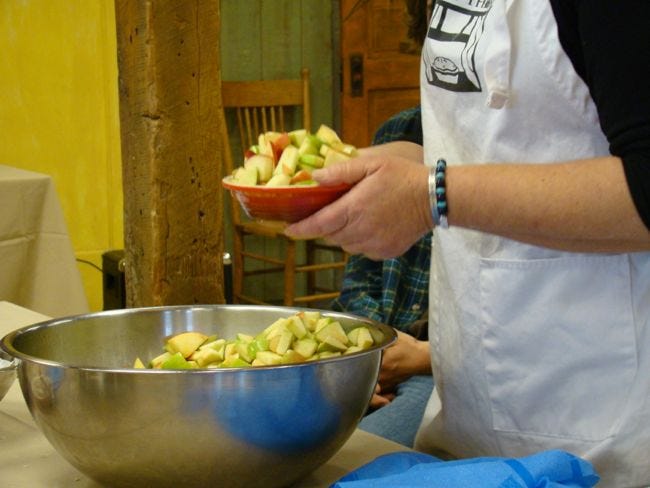
Kate used a combination of 3 apple varieties and she does not peel her apples. She cuts them into chunks measuring about 3/4-inch and piles them into her baking dish, mounding them in the center. After that, in they go into a mixing bowl.
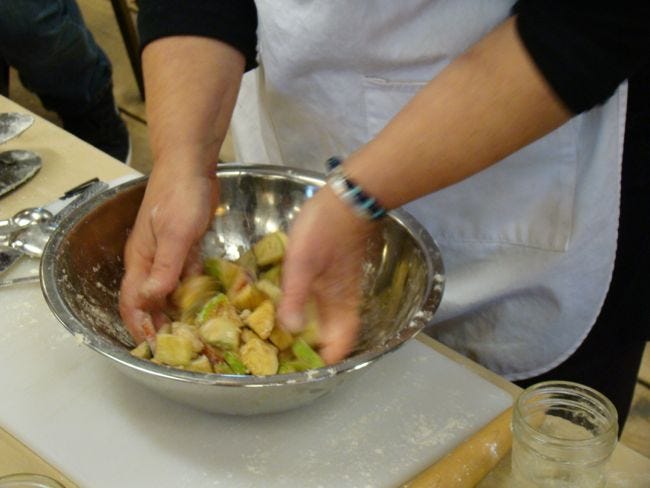
Kate adds sugar, flour, a pinch of salt, spices, and a little cider vinegar, and tosses everything together with her hands. She tastes the fruit to see if any adjustments are necessary and sets the bowl aside while she rolls out the crusts.
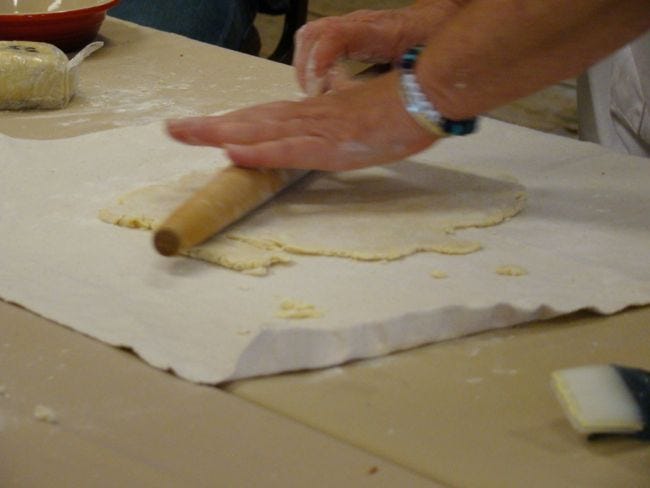
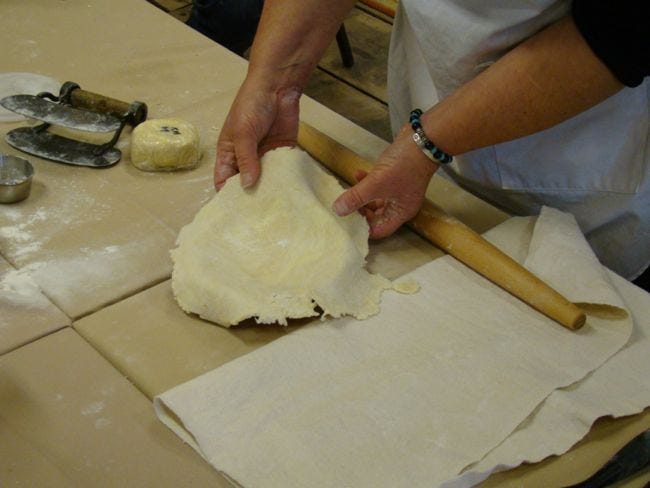
She rolls one disk of the dough on a lightly floured cloth, patching it together as necessary, until it is large enough to line the baking dish with an inch or so of overhang.
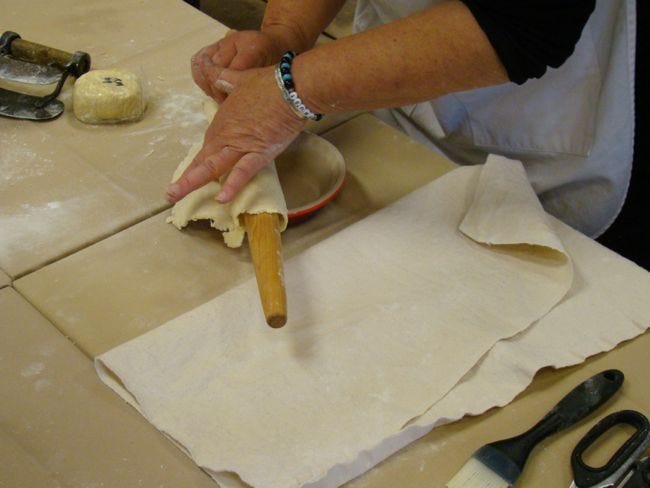
To transfer the dough to the baking dish, she rolls it up on a rolling pin and carefully unrolls it into the pan.
She lifts the edges of the dough, going all around the pastry, nudging it gently into the pan without stretching the dough.
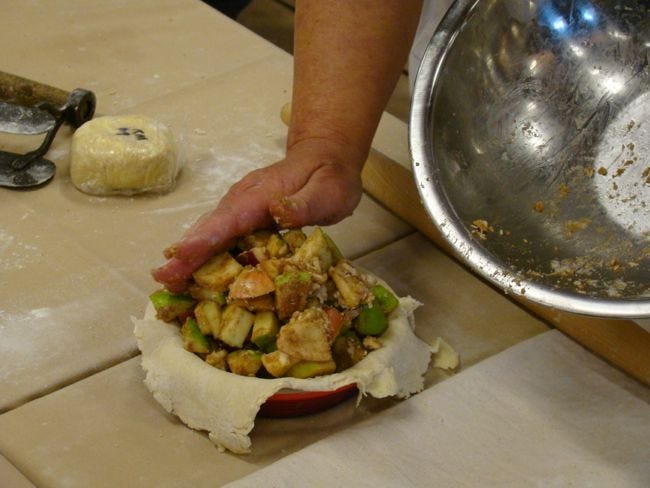
Then she piles the apple filling into the pan, mounding it in the center, and dots the fruit with small pieces of cold butter. Kate moistens the edge of the bottom crust lightly with ice water.
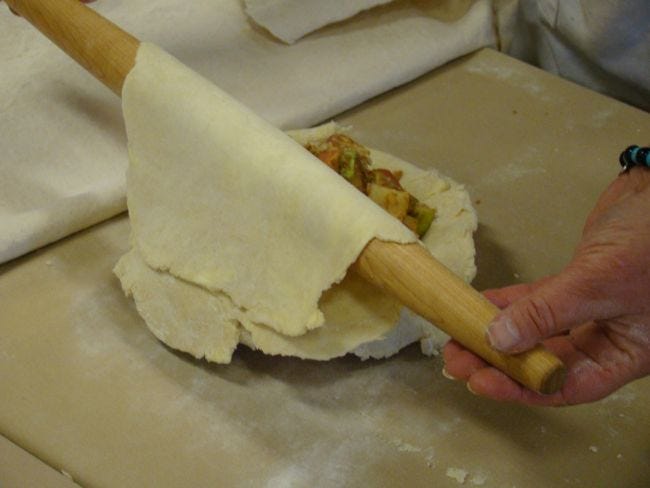
After rolling out the second disk of dough, she drapes it onto her pastry pin and carefully unrolls it over the filling.
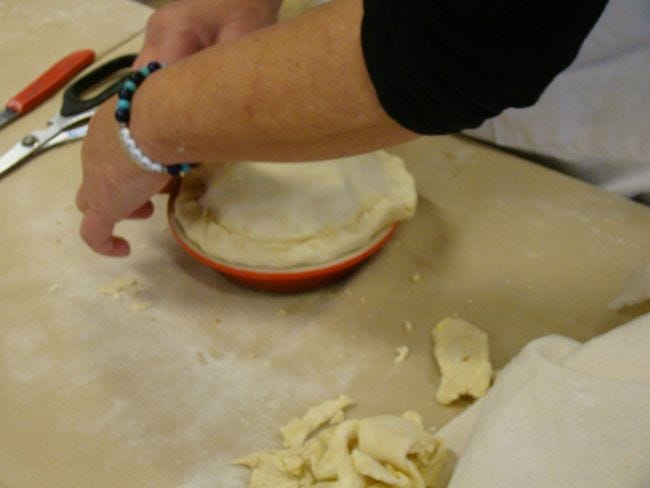
Next step: Press the top and bottom crust together along the edges to seal.
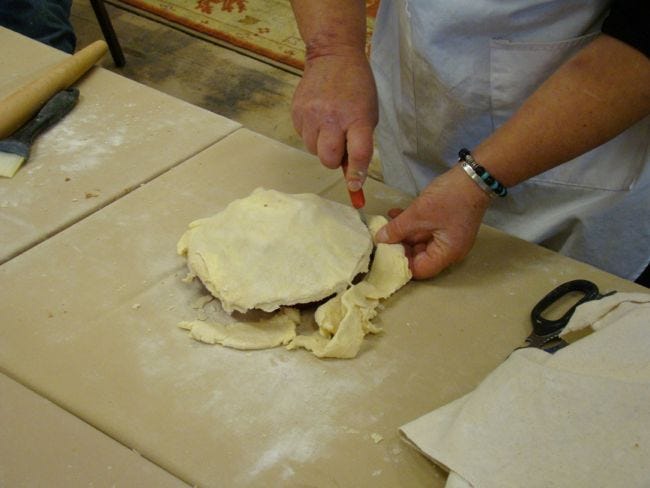
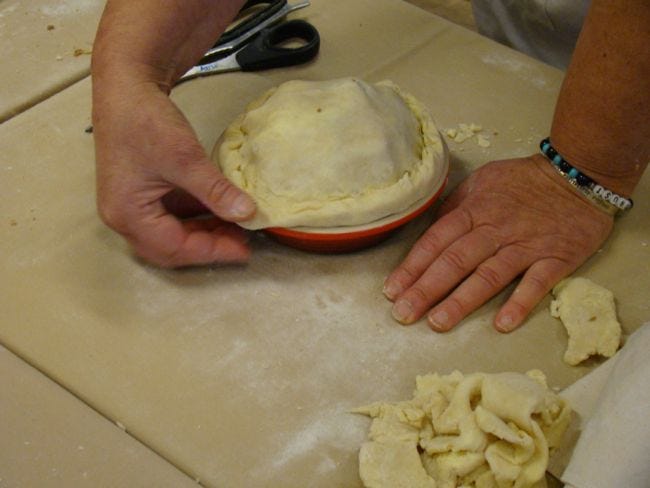
Once the edges are sealed, Kate trims away excess pastry with scissors or a knife.
Crimp the edges of the crust together by folding it on itself toward the center of the pie.
And here’s the pie with the crimping almost complete.
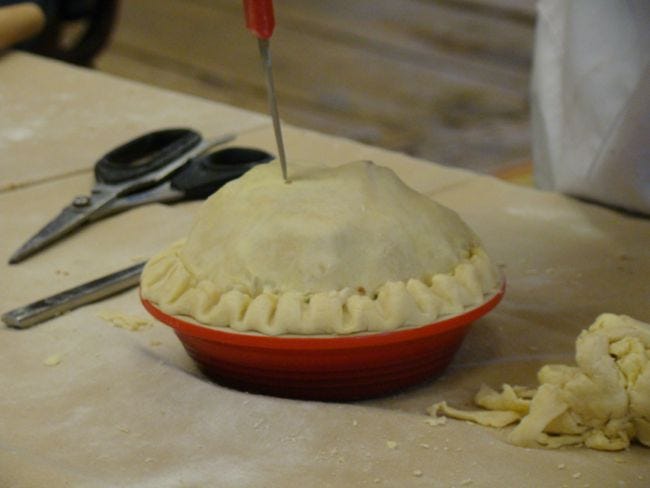
Kate decorated the crimped pie edge with the handle of a knife. You can make any design you like, or leave the edge plain.
Kate likes to refrigerate her pie for about 1 hour before baking. Then she makes the final decoration and brushes the pie with an egg white glaze.
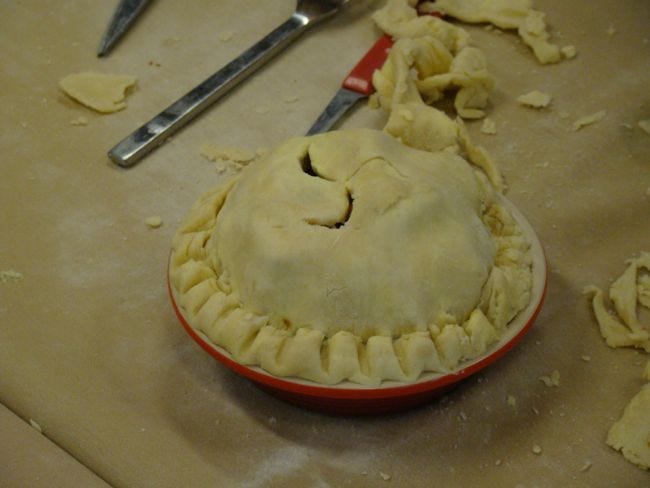
Steam vents decorate the top of the pie. After brushing with the glaze, into the oven the pie goes.
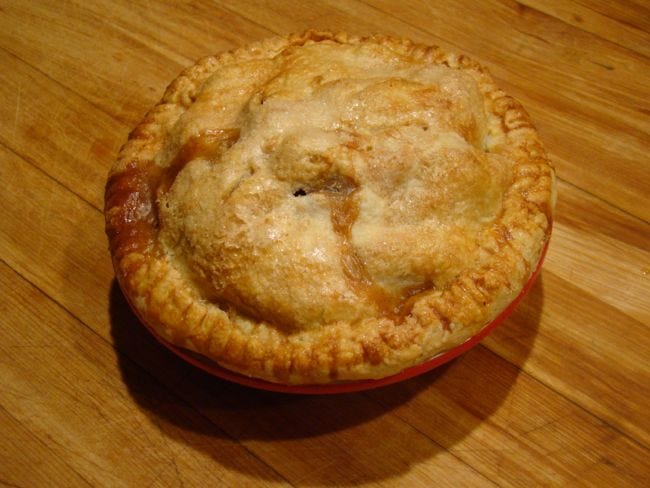
My baked pie! The pastry sinks as the fruit cooks and shrinks in volume. Delish!
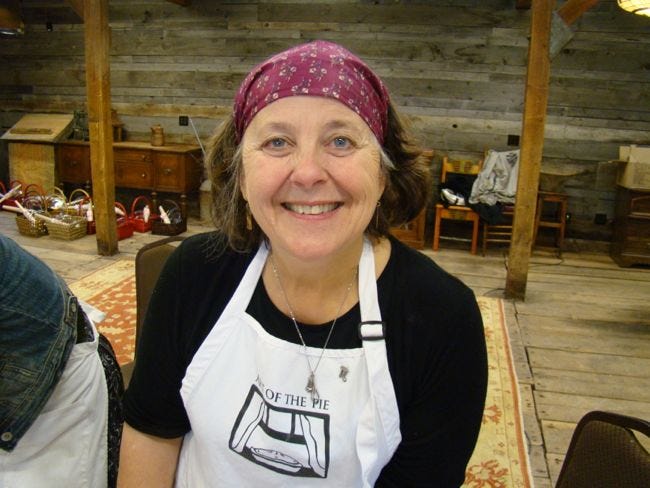
And here’s one proud teacher. Thank you, Kate, for a fantastic lesson in pie making.
UPDATE: In the two years since I took Kate's Apple Pie class she has published the definitive book on pie. The Art of the Pie: A Practical Guide to Homemade Crusts, Fillings, and Life (2016). Brava, Kate, for this groundbreaking cookbook.